
Procedure of Jasperserver installation in CentOS 7.
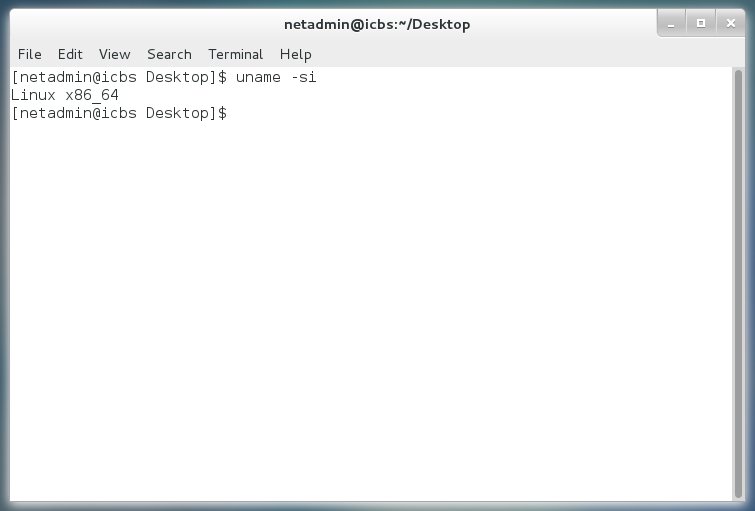
1.Type the uname -si in Terminal to check if your CentOS is 32 or 64 bit. If x86_64 it means your CentOS is 64 bit or i386 for 32 bit. Linux version Click this link to download the Jasperserver Linux installer that supported your CentOS.
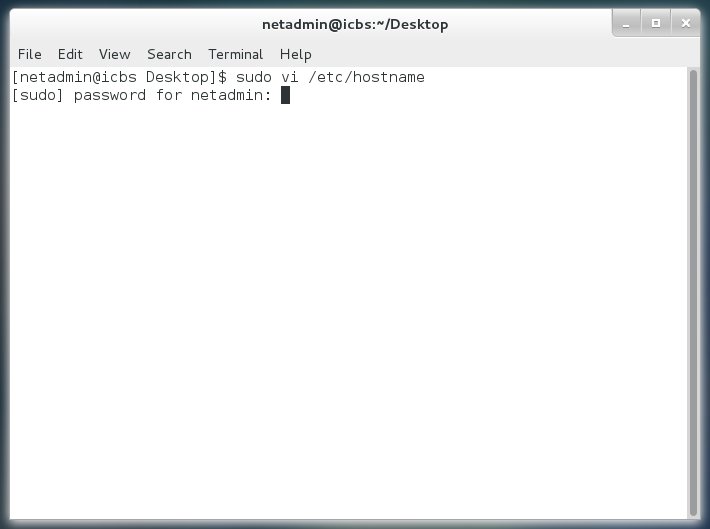
2. Edit hostname file using the vi command in Terminal, type sudo vi /etc/hostname and enter then type the password for administrator access. The password is not displayed when you type to secure the secrecy.
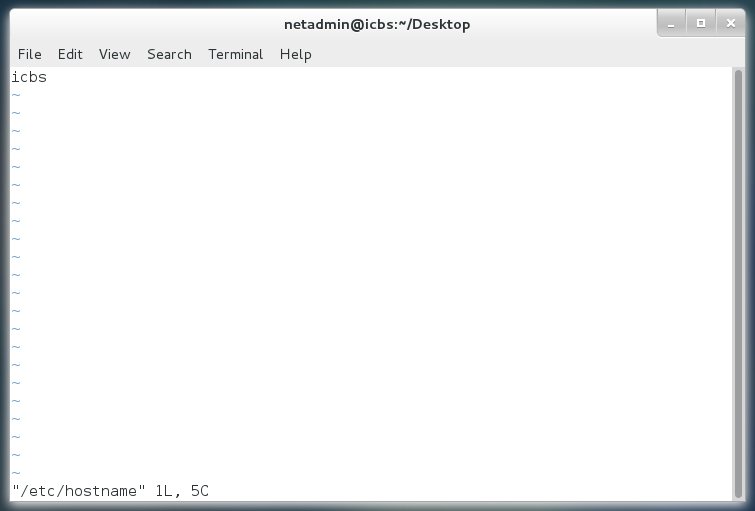
3. In the hostname file, click button i in keyboard to edit. i means insert command.
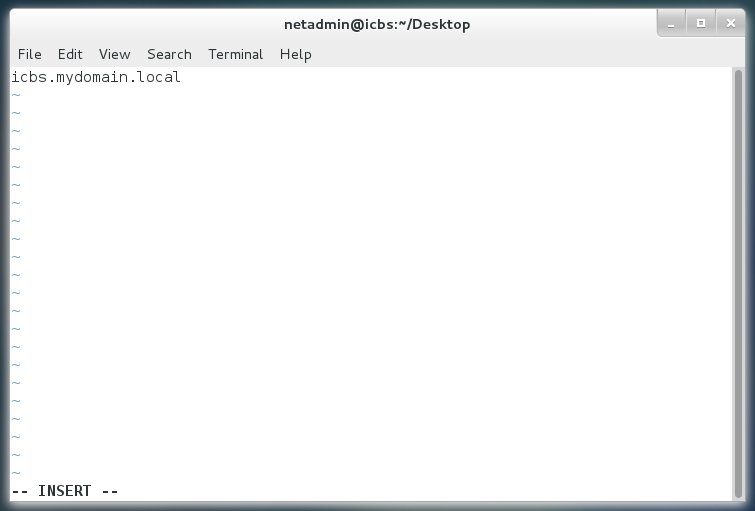
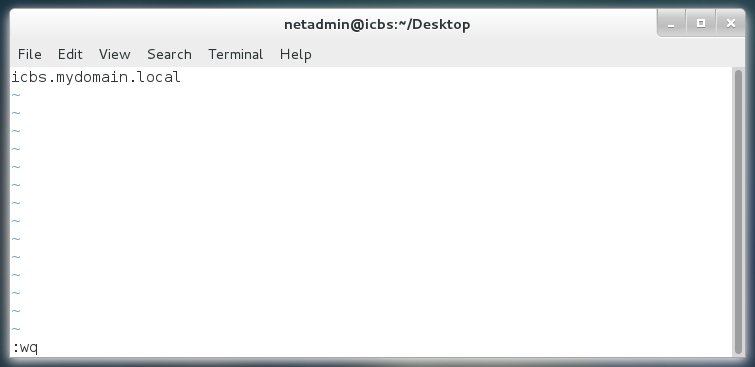
4. Type your domain name, for example icbs.mydomain.local to prevent the error in installation of Jasperserver.
5. Click Escape (Esc) button, type wq then click enter button to save your new hostname file. Dont interchange the w and q because w command means write and q means quit.
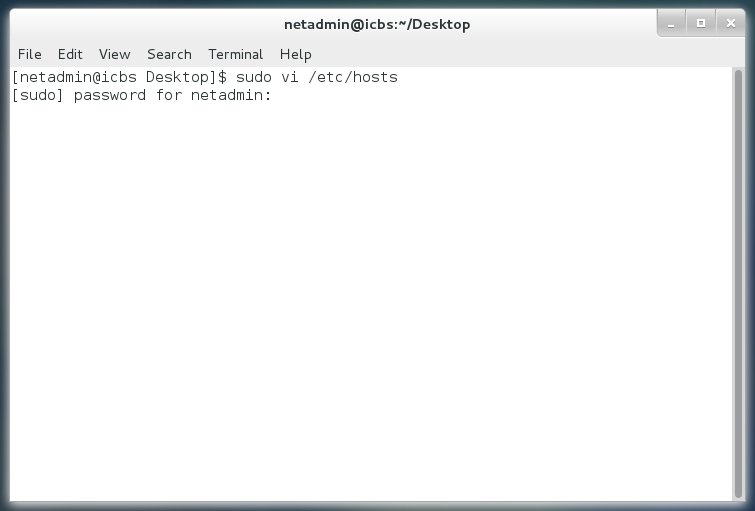
6. Type the sudo vi /etc/hosts, and click enter button then type the password of administrator user.
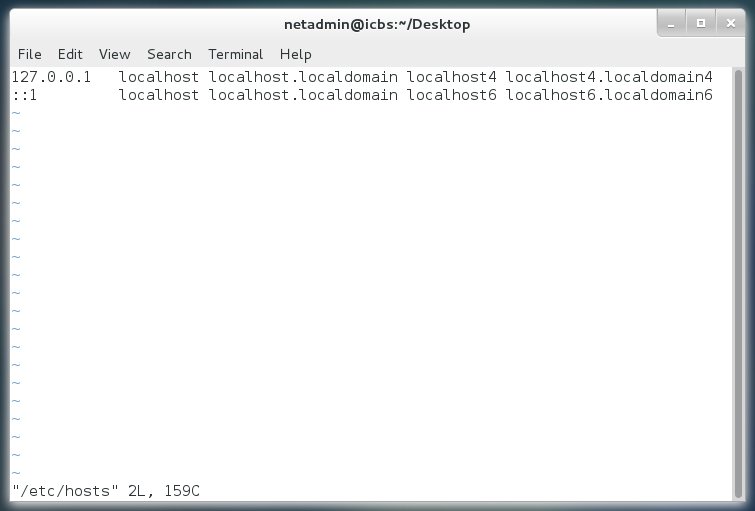
7. The screen shot below is the default file of hosts, if the CentOS is newly installed.
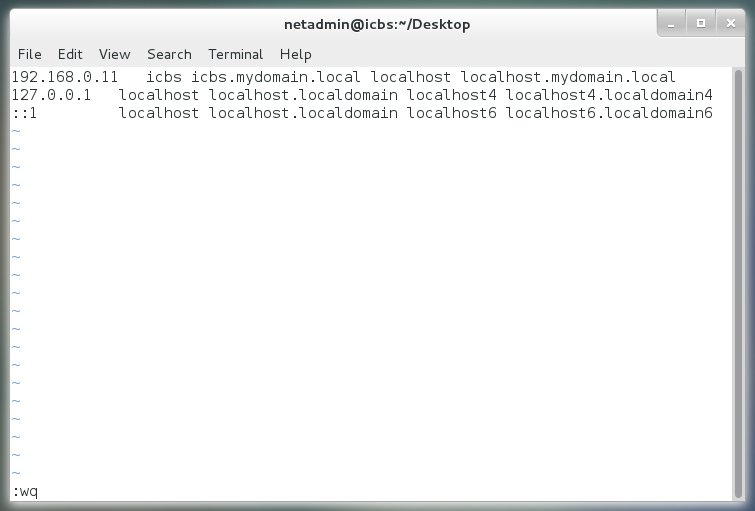
8. Follow the procedure above how to edit file using vi command. The screen shot below is the new setup to properly install the Jasperserver Linux installer.
9. Run the Jasperserver Linux installer using sudo command or root user. Type cd /home/Username/Downloads click enter, type sudo ./jasperreports-server-cp-5.6.0-linux-x64-installer.run and then enter to run.

10. The Jasperserver setup wizards will display, click next button to continue installation.

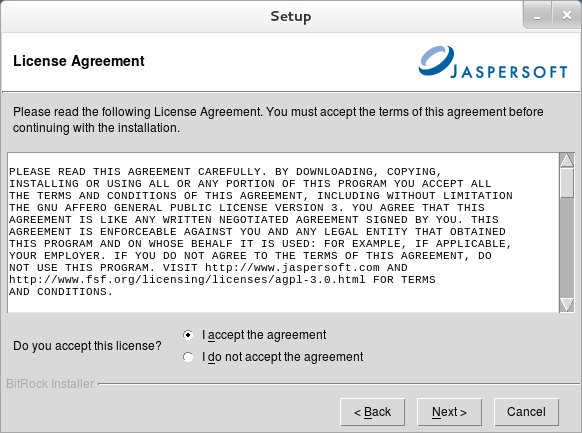
11. In the License Agreement, choose I accept the agreement and click next button to continue.
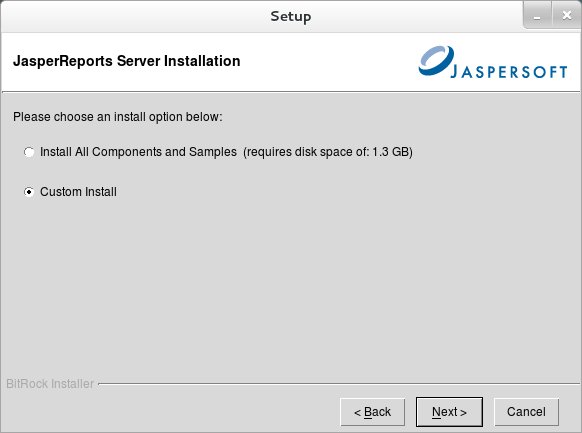
12. In the JasperReports Server Installation page, choose Custom Install then click next button.
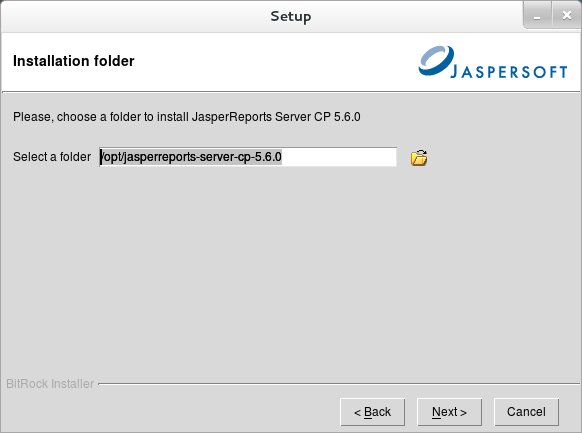
13. In the Installation folder page, the default installation of Jasperserver is opt folder. Click next to continue installation.
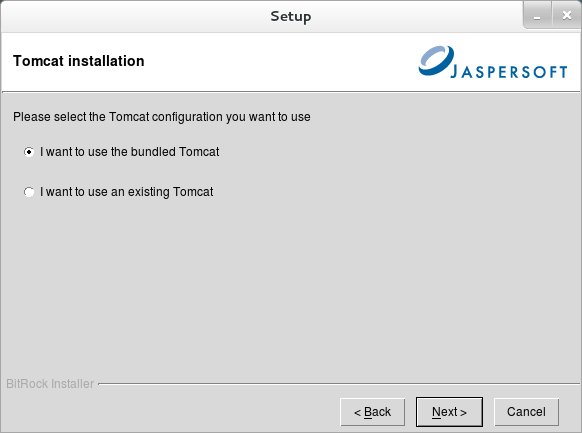
14. In the Tomcat installation page, if you have existed Tomcat in your computer choose the “I want to use an existing Tomcat.” but if you don’t have choose the other one and then click the next button to proceed.
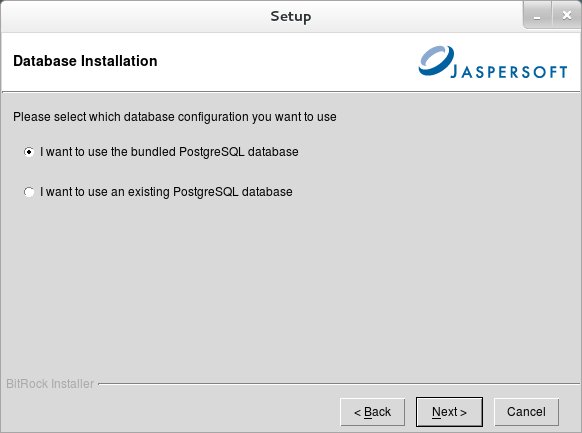
15. In the Database Installation page, I choose the bundled PostgreSQL database to install and click the next button to continue.
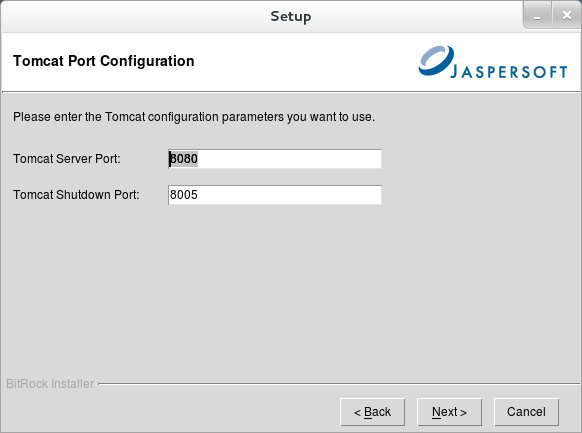
16. I choose the bundled Tomcat so that the Tomcat Port Configuration page was displayed, click the next button for the following page.
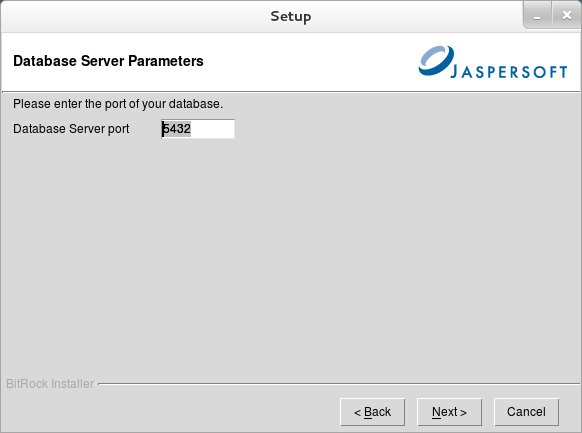
17. In the Database Server Parameters, click the next button to continue because the default server port of PostgreSQL 5432 is already input.
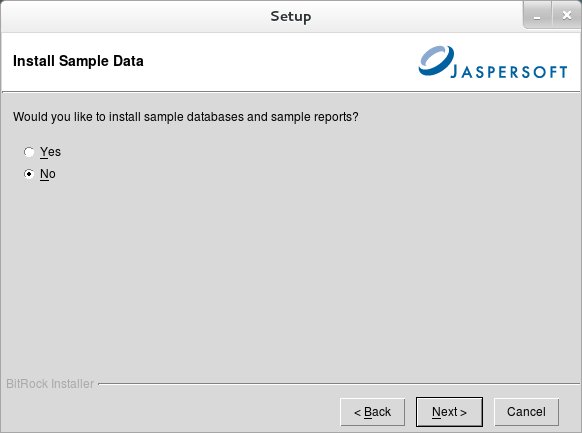
18. In the Install Sample Data page, choose Yes, if you want to install sample database and reports for your Jasperserver or no if you don’t want then click next button.
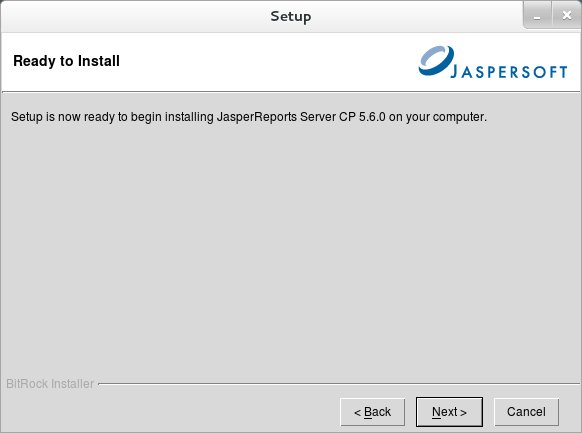
19. The next page is Read to Install, click next button to proceed the installation.
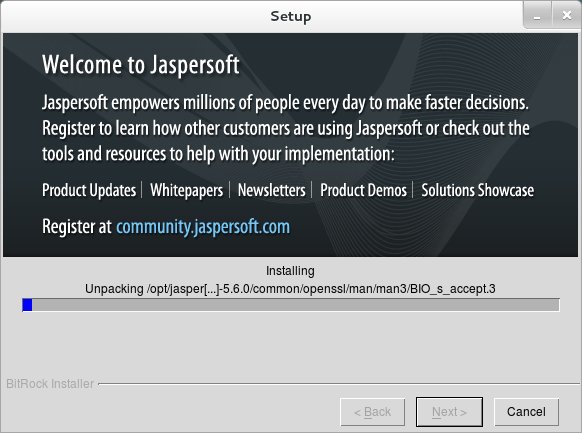
20. The Installation page was displayed. Please wait until the installation is done.
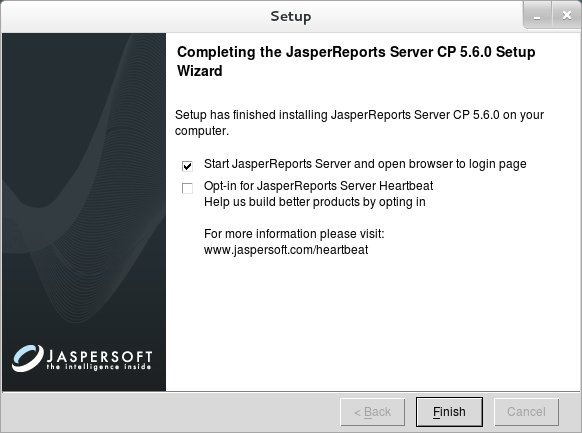
21. Click the Finish button to Start JasperReports Server and open browser to login page.
22. The Welcome and Login page of JasperReport Server will displayed and ready to use.
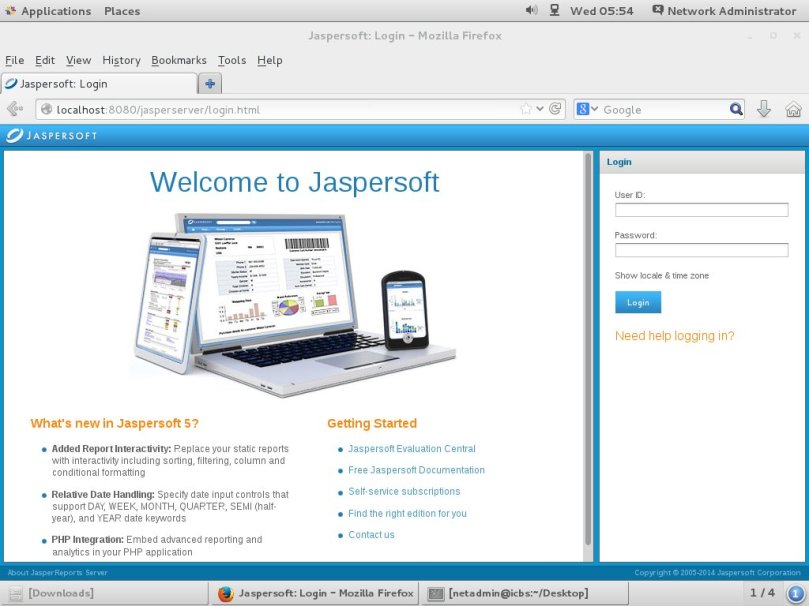
Login using the default username and password
•username: jasperadmin
•password: jasperadmin
